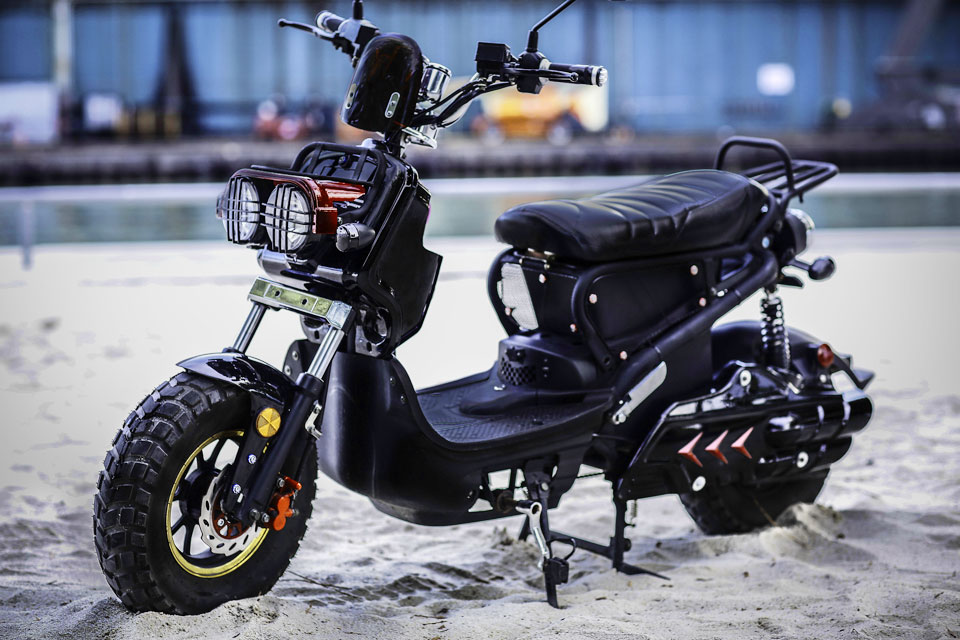
Would you like to own an electric scooter? Like many other people, you do. However, you may not have enough funds. The traditional push scooter is way cheaper than the more modern trendy electric scooter. People also love the electric type because it’s much easier to ride but moves faster. You don’t need to use your leg to push it forward. You simply push a button to start it, and then use the throttle to increase or decrease the speed. And for safety, you have simple cable brakes.
Did you know that you can transform your push scooter into an electric type? What will amaze you is that it’s much easier and simpler than it looks. And at the end of it, you get a powerful and reliable scooter. What’s more, you’ll only spend a fraction of what you would have paid to buy a similar unit. But how can you change the push type to an electric scooter? Well, follow the steps below: Check Out Best electric scooter for adults.
Bestseller Electric Scooter From A Push Scooter On Amazon:
A Complete Guide How To Make An Electric Scooter From A Push Scooter

Step 1: Familiarize With the Electric Scooter
Do you know all the differences between a push and electric type? It pays to research deeply and understands the different parts. You have the handlebar, the floorboard, wheels and more. The main difference between the push and the electric type is that the latter has a hub motor which drives the rear wheel. It will also have a push button for starting it, a throttle for controlling the speed, a rechargeable battery, and the holder. Full knowledge allows you to know what you’ll need for the project.
Step 2: Purchase the Kit
Rather than trying to purchase individual parts, you are better off buying a complete kit. It will contain all the necessary parts. These include the wheel, hub motor, start/ stop switch, brakes, brake cables, brake lever, battery box, and throttle.
However, if you feel confident enough, you can still purchase individual parts. It may be cheaper because you’ll only need to purchase what is really necessary. For instance, you may just buy the motor and rear wheel. You can construct your own rechargeable battery if you have the knowledge, and also use brake cable and pads that may be in your position or from an old bike.
Step 3: Gather the Tools
The assembly will require several tools. The number you’ll need will depend on your approach. For instance, if you decide to construct a metal battery holder, then a Mig or arc welder is necessary. The following are the main tools you’ll need:
- Phillips screwdriver
- Flat screwdrivers
- Wrench/ adjustable spanner
- Pair of pliers
- Arc or Mig wider
- Zip ties/ tie-ups (optional)
NB: To save time and also prevent confusion or not knowing where to start and the next step, you should write the steps on a piece of paper.
Step 4: Wheel Removal and Installation
First, remove the existing back wheel from the push scooter. To do this you’ll need a screwdriver or wrench depending on the design. The rear wheel is what provides power to the scooter.
After removal, you need to install the new wheel. If you are using a kit, it will come with instructions’ n how to go about it. Generally, you need to insert the ends of the hub inside the slots of the frame. After that, you tighten them using the nuts and a wrench or adjustable spanner. It is similar to how you would tighten a bike’s wheel.
Step 5: Install the Motor
After installation of the back wheel, you then attach the electric motor. It will drive the wheel. Ensure it fits snugly and the wires aren’t obstructed by anything. Also important is to make sure they are well protected from objects.
NB: Before you install the motor, you should first test to ascertain if it works. This is as simple as connecting the wires to the designated battery. It may be a 24V or 36V unit. Red is for positive and black is usually negative.
Step 6: Install the battery box/holder
Youll need to create a battery box holder. The best place is usually at the rear just above the driving wheel. You may need to modify the mudguard and then attach the box to the mudguard and then support the rear using some metal rods. To weld the box, you’ll need to use either arc or Mig welding. This will depend on the gauge of the metal. Don’t connect the wires from the motor to the battery yet.
Step 7: Fit the Start-up Button
Next, you’ll fit the start button. Connect the wires running from the motor or battery pack. This will vary from manufacturer to manufacturer. The role of the switch is to close the circuit and give the motor power to run or open the electric circuit and cut off power.
Step 8: Install the throttle
The next step is installing the throttle. This is what will increase or decrease speed. Turning it clockwise increases the speed while anticlockwise decreases it. You may also install the speedometer which indicates the speed.
Step 9: Fit the brakes
Fit the brakes as per the instructions or knowledge. Normally, they will be cable brakes that are controlled by a lever on the handlebar. A cable will run alongside the frame to the wheel and will press the brake pads against the rim when depressed. This provides the necessary friction for stopping.
NB: You can make use of zip ties/ tie-ups to secure the cables and wires to the frame.
Conclusion:
There you go- a simple step that will transform a push type scooter to an electric one. And as you may have seen, it’s not that complicated. With the right tools and parts, you should be done in no time. You are always advised to go for high-quality parts. This guarantees you of good service, reliability and also boosts your safety. It’s better to pay more for a high-quality part that will last you a long time.
Also important is having a checklist of the steps you will follow. After you’ve completed it, you check or cross it off. This ensures you have a solid product that is sturdily built and safe for you or another user.
Contents


Leave a Reply